Waterdrop G3P600 Review (2026): Complete Reference & Installation Guide
600 GPD tankless RO • 2:1 pure-to-drain • NSF/ANSI 42, 53, 58, 372 • Smart LED faucet with real-time TDS • 8-stage filtration • 3-second tool-free filter replacement
Best tankless under-sink RO for tight cabinets and eco-conscious buyers
The G3P600 delivers 600 GPD on demand, saves 70% under-sink space, wastes just 1 gallon for every 2 produced, and lets you replace filters in 3 seconds without tools. The dual TDS display on both the housing and the smart faucet is a feature no competitor matches at this price. It costs more than tank-based alternatives and doesn't include remineralization by default — but for buyers who prioritize space, efficiency, and real-time water quality visibility, it's the under-sink RO to beat.
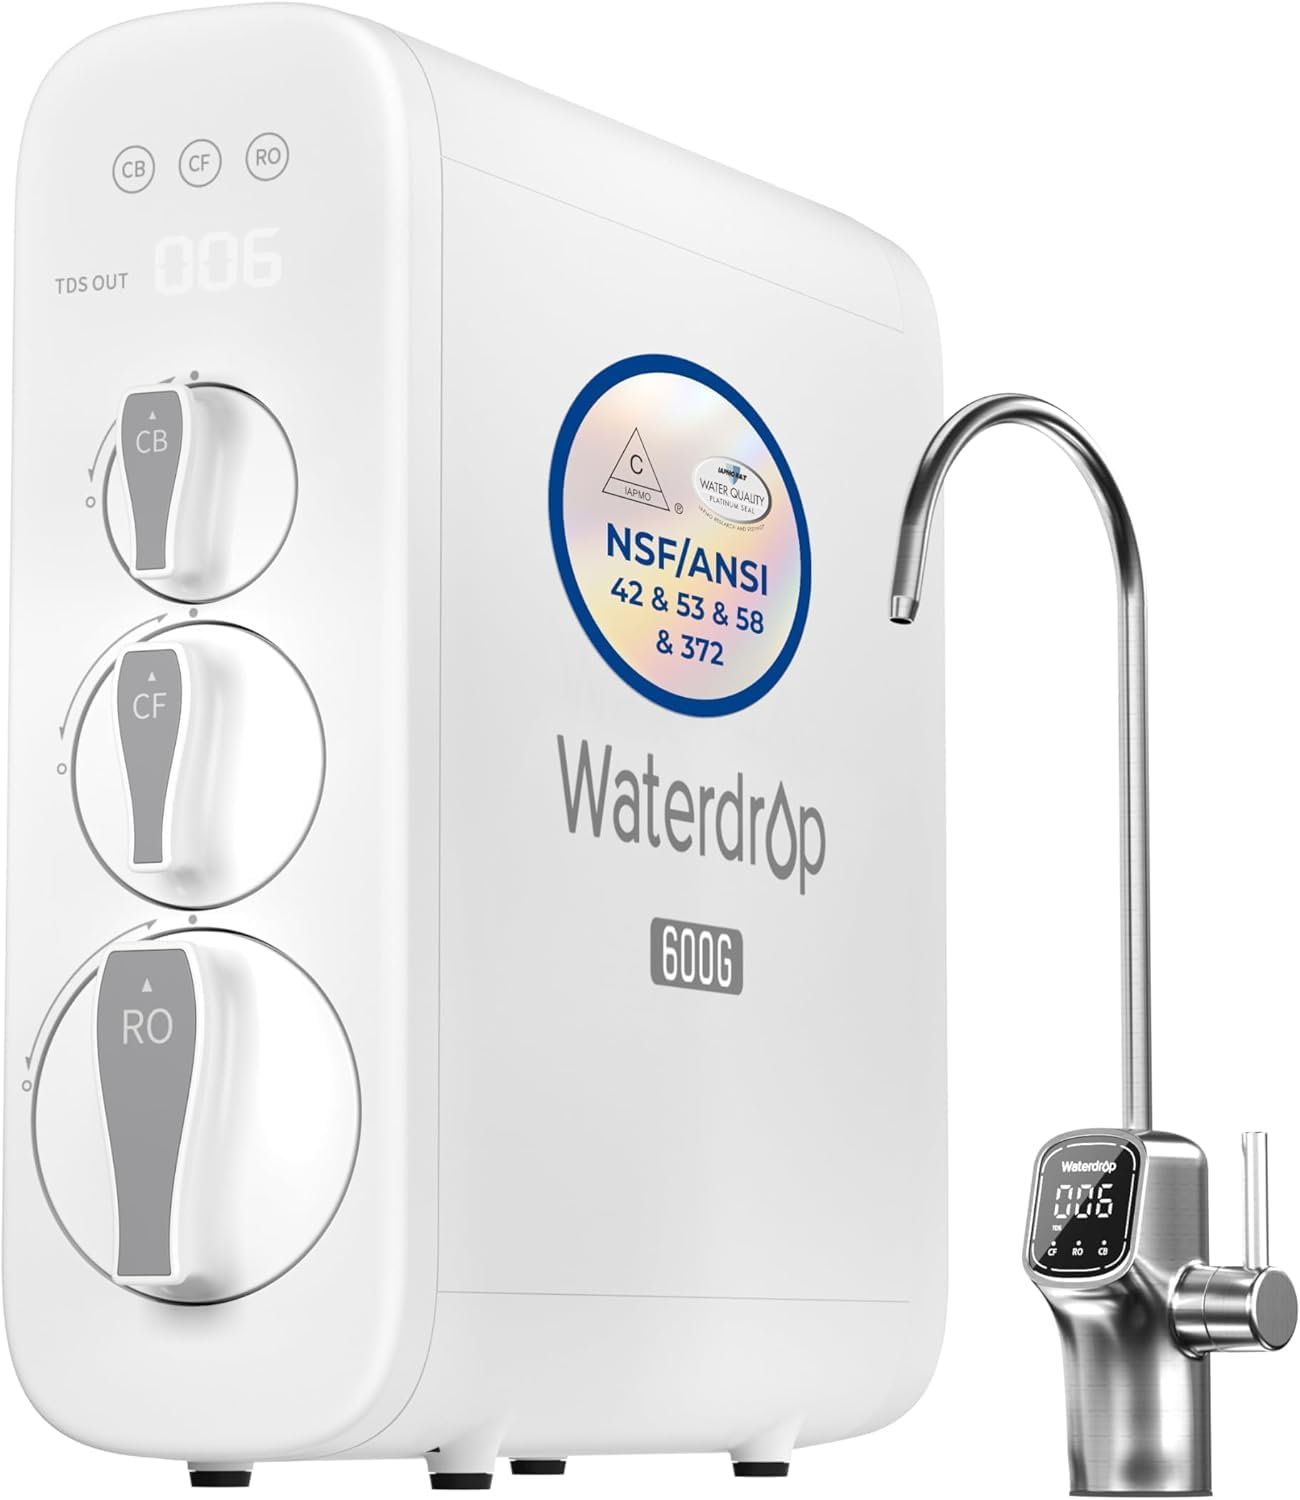
Waterdrop WD-G3P600
600 GPD • 8-Stage • NSF 42/53/58/372 • 2:1 Ratio • Smart Faucet
Full Specifications
| Flow rate | 600 GPD — one 8 oz cup in ~8 seconds |
| System type | Tankless — no pressurized storage tank |
| Filtration stages | 8-stage reverse osmosis |
| RO membrane pore size | 0.0001 micron |
| Pure-to-drain ratio | 2:1 (2 gallons purified per 1 wasted) |
| Feed water pressure | 14.5–87 PSI (rated at 30 PSI, 77°F) |
| Certifications | NSF/ANSI 42, 53, 58, 372 • IAPMO R&T • SGS third-party tested • FCC • EU • UKCA |
| TDS reduction (NSF 58) | ≥75% reduction required; G3P600 exceeds this at standard 750 ±40 mg/L challenge |
| Dimensions | 18.12” L × 5.67” W × 17.72” H |
| Space savings | 70% less under-sink space vs tank-based RO |
| Smart faucet display | Real-time TDS + filter life on faucet AND housing panel |
| CF filter (WD-G3-CF) | 6 months / 550 gallons — whichever first |
| CB filter (WD-G3-CB) | 12 months / 1,100 gallons — whichever first |
| RO membrane (WD-G3P600-RO) | 24 months / 2,200 gallons — whichever first |
| Electricity required | Yes — standard outlet under sink (or adjacent cabinet) |
| Warranty | 1 year • 30-day money-back • lifetime technical support |
| Support | 1-888-352-3558 Mon–Fri 8am–5pm PST • service@waterdropfilter.com |
What It Removes
The G3P600 is certified by IAPMO R&T under NSF/ANSI 42, 53, 58, and 372. Third-party testing by SGS confirms removal performance. Key contaminant categories:
- TDS (up to 99%)
- Arsenic (up to 99%)
- Fluoride (up to 99%)
- Radium 226/228 (up to 96%)
- Chromium VI (up to 99%)
- PFAS / PFOA / PFOS
- Iron, Calcium, Chloride
- Chlorine & chloramines (taste/odor)
- VOCs
- Benzene (up to 99%)
- Methoxychlor (up to 99%)
- Lindane (up to 99%)
- Vinyl chloride
- Ethylene glycol
Why Tankless Makes a Real Difference
A traditional tank-based RO system like the iSpring RCC7AK stores 3+ gallons in a pressurized tank roughly the size of a stockpot. Add the filter housing assembly and you've consumed most of a standard under-sink cabinet. The G3P600 is 5.67 inches wide and mounts flat against the cabinet wall. At 600 GPD, the booster pump produces water fast enough that no storage tank is needed — one 8 oz cup in approximately 8 seconds on demand.
There's also a water freshness argument. Tank-based systems store water for hours or days before dispensing it. Tankless systems produce fresh filtered water at the moment of dispensing. For buyers who care about that distinction, the G3P600 addresses it completely.
The 2:1 Waste Ratio in Real Terms
The G3P600 produces 2 gallons of purified water for every 1 gallon it sends down the drain. Compare that to the iSpring RCC7AK's ~3:1 or older tank-based systems at 4–5:1. For a household using 2 gallons of RO water per day, the G3P600 wastes approximately 365 gallons per year; the iSpring wastes ~730 gallons. Measurable on a metered water bill, and increasingly relevant in areas with drought restrictions or high water costs.
Dual TDS Display & Smart Faucet
The G3P600 has a dual-display system no competitor matches at this price: the main housing front panel shows real-time TDS OUT while dispensing, and the smart LED faucet shows both TDS and filter life on its own display. You can check water quality and filter status from the faucet without opening the cabinet.
Filter Replacement Schedule
| Filter | Part Number | Interval | Position | Flush After |
|---|---|---|---|---|
| CF — Composite Filter | WD-G3-CF | 6 months / 550 gal | Middle slot | 5 min (auto) |
| CB — Carbon Block | WD-G3-CB | 12 months / 1,100 gal | Top slot | 15 min (manual) |
| RO Membrane | WD-G3P600-RO | 24 months / 2,200 gal | Bottom slot | 30 min — discard output |
Indicators track whichever expires first: time OR volume. A low-use household may hit the time limit before the gallon threshold; a high-use household hits gallons first. The CF filter has the shortest life because it does the heaviest work — if you're replacing it in under 4 months consistently, add a whole-house sediment pre-filter upstream to extend CF life.
Filter Replacement — Step by Step
The G3P600 uses a tool-free bayonet system. You do not need to shut off water or power. CF and CB filters take under 30 seconds to swap. The RO membrane follows the same steps with an extended flush.
Automatic Flushing — What the System Does Without You
The G3P600 runs automatic flush cycles under three conditions to extend membrane life. During any flush, the front panel shows the flushing animation and the faucet outer ring light flashes clockwise. Both displays return to normal TDS once flushing is complete.
| Flush Trigger | When It Runs | Duration |
|---|---|---|
| Initial commissioning flush | First 5 minutes after power-on (first use) | 5 min auto → then 30 min manual with faucet on |
| Idle flush | After extended period without water dispensing | Brief automatic cycle — normal behavior |
| Post-filter-change flush | After filter replacement when faucet is opened | 5–30 min depending on filter type |
Error Codes
After addressing the cause, power the system off and back on to clear the error and resume normal operation.
| Code | Meaning | Resolution |
|---|---|---|
| E02 | Water supply issue — inlet pressure too low or supply valve closed | Check that cold water supply valve is fully open; verify inlet pressure is within 14.5–87 PSI; check feed water tubing for kinks |
| E03 | Leak detected by internal sensor | Inspect all connections at the rear panel (INPUT, FILTERED, WASTE ports); check drain saddle; check feed water adapter; dry all connections thoroughly; restart |
| E04 | TDS sensor or display fault | Check faucet power cord connection at the FAUCET connector on rear of housing — tighten nut fully; power off and restart; contact Waterdrop support if persistent |
Installation Overview
Installation typically takes 60–90 minutes. No plumber required. Tools needed: adjustable wrench, utility knife, 1/4” drill bit, 1” drill bit (if no existing faucet hole). All connections use push-in quick-connect fittings secured with blue lock clips.
Tubing connection map: Feed water adapter (K) → INPUT port (H) via 3/8” white tubing • Faucet (L) → FILTERED port (I) via 1/4” white tubing • Drain saddle (M) → WASTE port (J) via 1/4” red tubing • Faucet power cord (O) → FAUCET connector (G) • Power adapter (F) → POWER port (N).
For a full step-by-step installation walkthrough, see the Waterdrop G3P600 installation guide.
Who It’s For — and Who Should Look Elsewhere
✓ Buy the G3P600 if…
- Cabinet space is tight
- Water efficiency matters
- You want real-time TDS at the faucet
- Convenient filter changes are a priority
- You prefer fresh on-demand water over tank storage
✗ Consider alternatives if…
- Budget is the primary driver — iSpring RCC7AK is cheaper
- You want alkaline remineralization included
- No electrical outlet under the sink
- Well water without pre-treatment (not recommended)
Waterdrop WD-G3P600
600 GPD • 8-Stage • NSF 42/53/58/372 • 2:1 Ratio • Smart LED Faucet
Affiliate links — we earn a commission at no extra cost to you.